
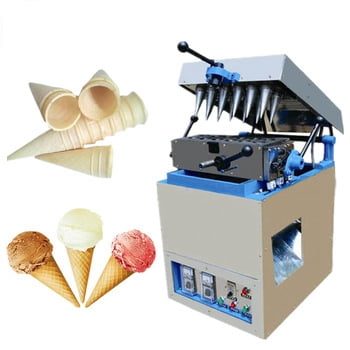
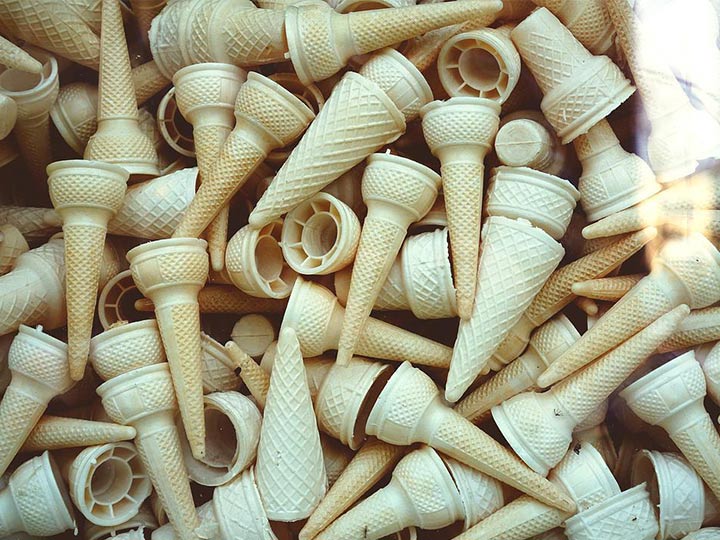
Sweet Wafer Cone Machine is the commercial equipment for processing wafer ice cream cones. This semi-automatic wafer cone machine has a wide range of uses and can produce wafer ice cream cones of various shapes and sizes, such as torch-shaped cones, corn-shaped cones, cup-shaped cones, flower-shaped cones, and Box-shaped egg cones, etc.
When using this sweet wafer cone machine to process wafer cones in large quantities, we must first fully learn how to install and use the machine.
Heating method of sweet wafer cone machine
The heating method of the wafer ice cream cone maker usually selects electric heating.
Electric heating
The electric heating wafer cone machine can convert electricity into heat energy during baking, and its temperature can be set and adjusted. The electric heating method is more suitable for small processing volumes and users.
Because the larger the output, the more energy is consumed and the higher the cost. For places where electricity prices are more expensive, an electrically heated wafer cone machine is not a good choice.
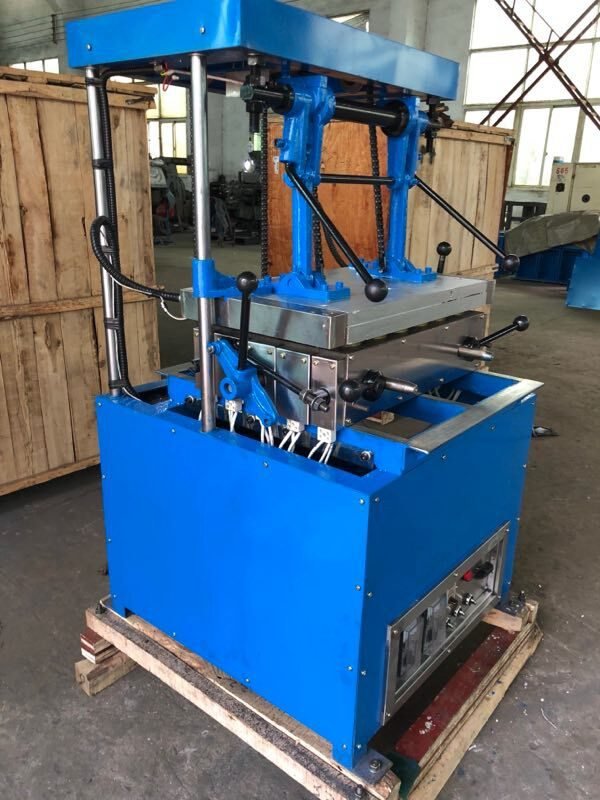
How to install and use sweet wafer cone machine
1. The machine should be anchored on the concrete foundation. The four feet of the machine frame is drilled with ¢14 holes for the purpose of threading the anchor bolts. The machine can also be made with two wooden feet (or channel steel) longer than the body, and still, be fastened under the frame with the above screw holes to adjust the operating height of the machine and increase its stability.
In addition, choose a dry and ventilated site, stabilize the body, lift the upper mold, and adjust the body to be level based on the upper surface of the lower mold, and then fix the foot until it is stable.
2. There is a grounding mark on the lower back of the rack, and this screw can also be used for the grounding wire. Bury a metal rod of ¢10×500 mm or more into the ground vertically at an appropriate position near the fuselage, and connect the metal rod and the fuselage with a good copper wire to make it effectively grounded. This work must be completed before power on to avoid accidents during work.
3. Adjust the parts:
a. Tighten the handle with the ball in the accessory bag to each operating part with reference to the structural schematic diagram.
b. Lift the upper mold and check whether its weight is appropriate and whether the height of the natural opening affects the filling operation. And the spring tension can be increased or decreased by loosening and tightening the hooks connected with the spring to make the distance between the upper and lower molds appropriate.
c. After removing the grease on the guide rail of the lower mold of the sweet wafer cone machine, try opening and closing the lower mold to ensure that there is no gap after closing.
d. Check whether other screws that should be tightened are loose until the body is stable and there is no jamming during the operation.
4. Connect the power supply. When the user prepares his own 30A knife power switch, it is recommended to be equipped with an electric shock protector. The diameter of the power cord should be above 4mm to ensure continuous operation. Reliable insulation measures should be provided for each connection.
After closing, the power indicator on the electrical box lights up, indicating that the power is on and the machine has entered the working state. At this time, use a test pencil to check whether the fuselage is leaking. If the insulation is found to be poor, it should be handled properly to avoid accidents.